Learn to Sew Series Lesson #1: How to Sew a Straight Line

Welcome to the wonderful world of sewing! I’m super excited to have you here. Whether you have bought a brand new sewing machine, have been given a sewing machine from a friend or family member, or picked up a 2nd hand sewing machine from the local op-shop, our learn to sew series is just for you.
This learn to sew series is going to walk you through the whole process. Not only that it’s free and you can complete it from your own home, at your own pace. We will start at the very beginning learning how to sew a straight line and then go from there. These lessons will include a video tutorial and written instructions.
In todays lesson you will learn how to sew in a straight line, how to sew around a corner and we will complete our first sewing project- how to sew a napkin.
So grab a cup of tea (or your favorite beverage) and let’s get sewing!
How to Sew a Straight Line: what you will need
For this lesson you will need a scrap piece of fabric. Cotton or polyester (or a blend of both) will be best. You don’t want anything that is stretchy like a knit. Stretchy fabric is harder to work with a requires a few different tools. You’ll need the piece of fabric to be big enough to fold in half or two pieces of fabric where you can lay one piece on top of the other. You want to have 2 layers of fabric to sew through while you practice.
You will also need thread and scissors.
Here’s a video of the process:
How to Sew a Straight Line Written Instructions
Step One: Thread your machine
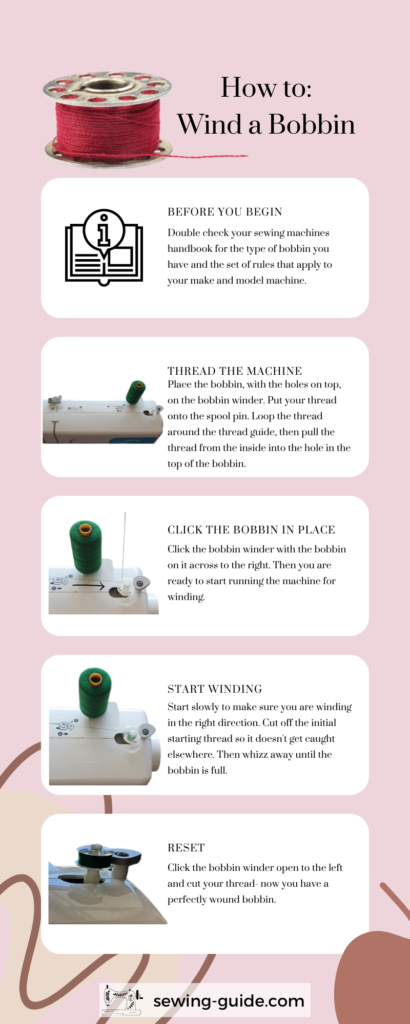
First you need to thread your sewing machine (including your bobbin). If this is the first time you have threaded your machine you might want to check your handbook or check YouTube for a video of someone threading your machine.
Step Two: Set your stitch length
Next you want to set your stitch length to sew at an average length which is usually 2.5 but check your handbook.
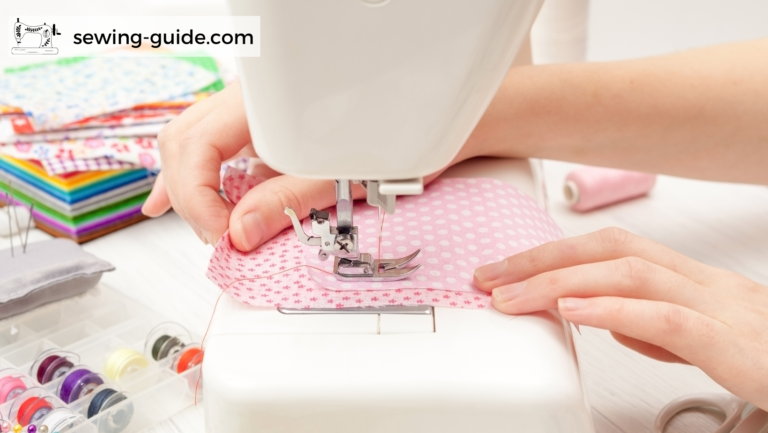
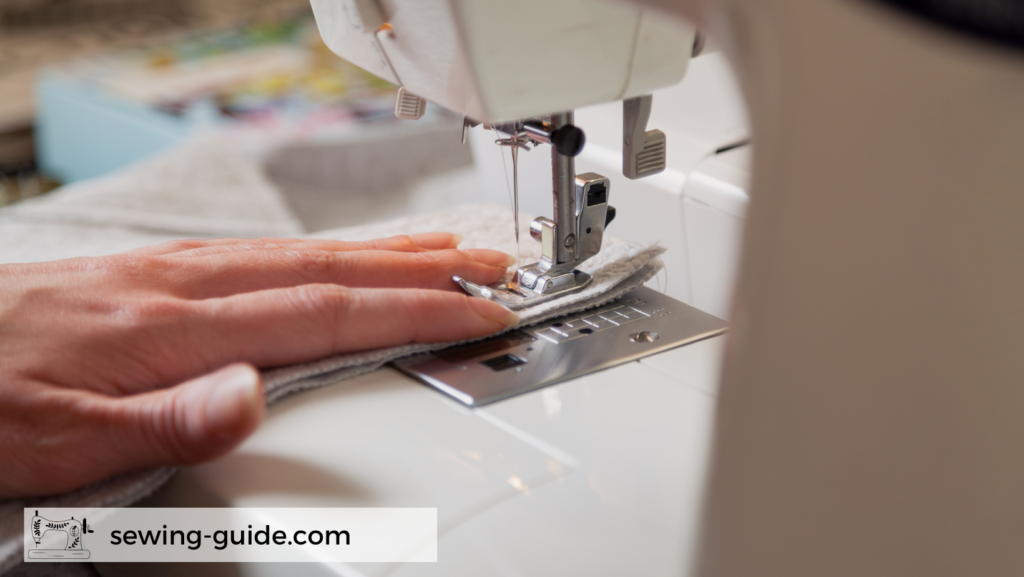
Step Three: Place your fabric under the presser foot
Now, you want to take your scrap fabric and place it under the presser foot. Remember that you want to have two layers (either fold your fabric in half or have 2 pieces).
Line your fabric up so that the right edge of your fabric matches up with the right edge of your presser foot as you look at it. Once you have your fabric in position lower the presser foot so that it is holding your fabric in place.
Step Four: Lower the needle
Before you start to sew, use your hand wheel to lower the needle so that it’s all the way down into your fabric. You need to always do this before you begin to sew.
Step Five: Start sewing
With your needle down, slowly press your foot pedal down to begin to sew. Stitch forward for 1 inch.
Then push down the lever to back stitch for 1 inch (sew backward over what you just sewed). This will stop your stitches from coming undone. You do this at the start and end of your line to make a knot (unless your pattern tells you not to)
Continue sewing forward. As you do try to keep the edge of the fabric lined up with the edge of your presser foot. This will help you maintain a straight line. Also try to keep a nice steady pace.
Once you reach the end of your fabric, knot it again (sew backwards and then forwards one 1 inch).
Step Six: Release your fabric
To release your fabric make sure you use your hand wheel to lift your needle, and then raise your presser foot. Gently remove your fabric and snip the threads that are attached to your fabric.
Yay you did it. You just sewed your first straight line. Congratulations I am so proud of you!
How to Sew Around a Corner
Next we are going to look at how to sew around a corner (don’t worry it’s not as scary as you think).
Step One: Sew to the corner of your fabric leaving 1/4″- 1/2″ space
Sew to almost all the way to the corner of your fabric, but leave yourself about 1/4″ to 1/2″ of space between your needle and the very edge of the fabric.
Step two: Lower your needle all the way down
Next you need to lower your needle all the way into your fabric, this is super important don’t forget this step!
Step three: Pivot your fabric
Next you want to lift your presser foot. Because your needle is all the way down in your fabric it will stay in place. Then you simply need to pivot your fabric so you are lined up to continue sewing down the next side.
Step Four: Lower your presser foot and continue to sew
Now all you need to do is lower your presser foot and continue to sew!
Sewing Project: How to Sew a Napkin
Now that you’ve mastered sewing in a straight line and sewing around corners, it’s time to put your new sewing skills into practice to make these cute beginner friendly napkins! What a great excuse to invite your friends around for a chat and to show off your new sewing skills.
This is a beginner friendly project that just requires you to sew in a straight line! You will find the project instructions here