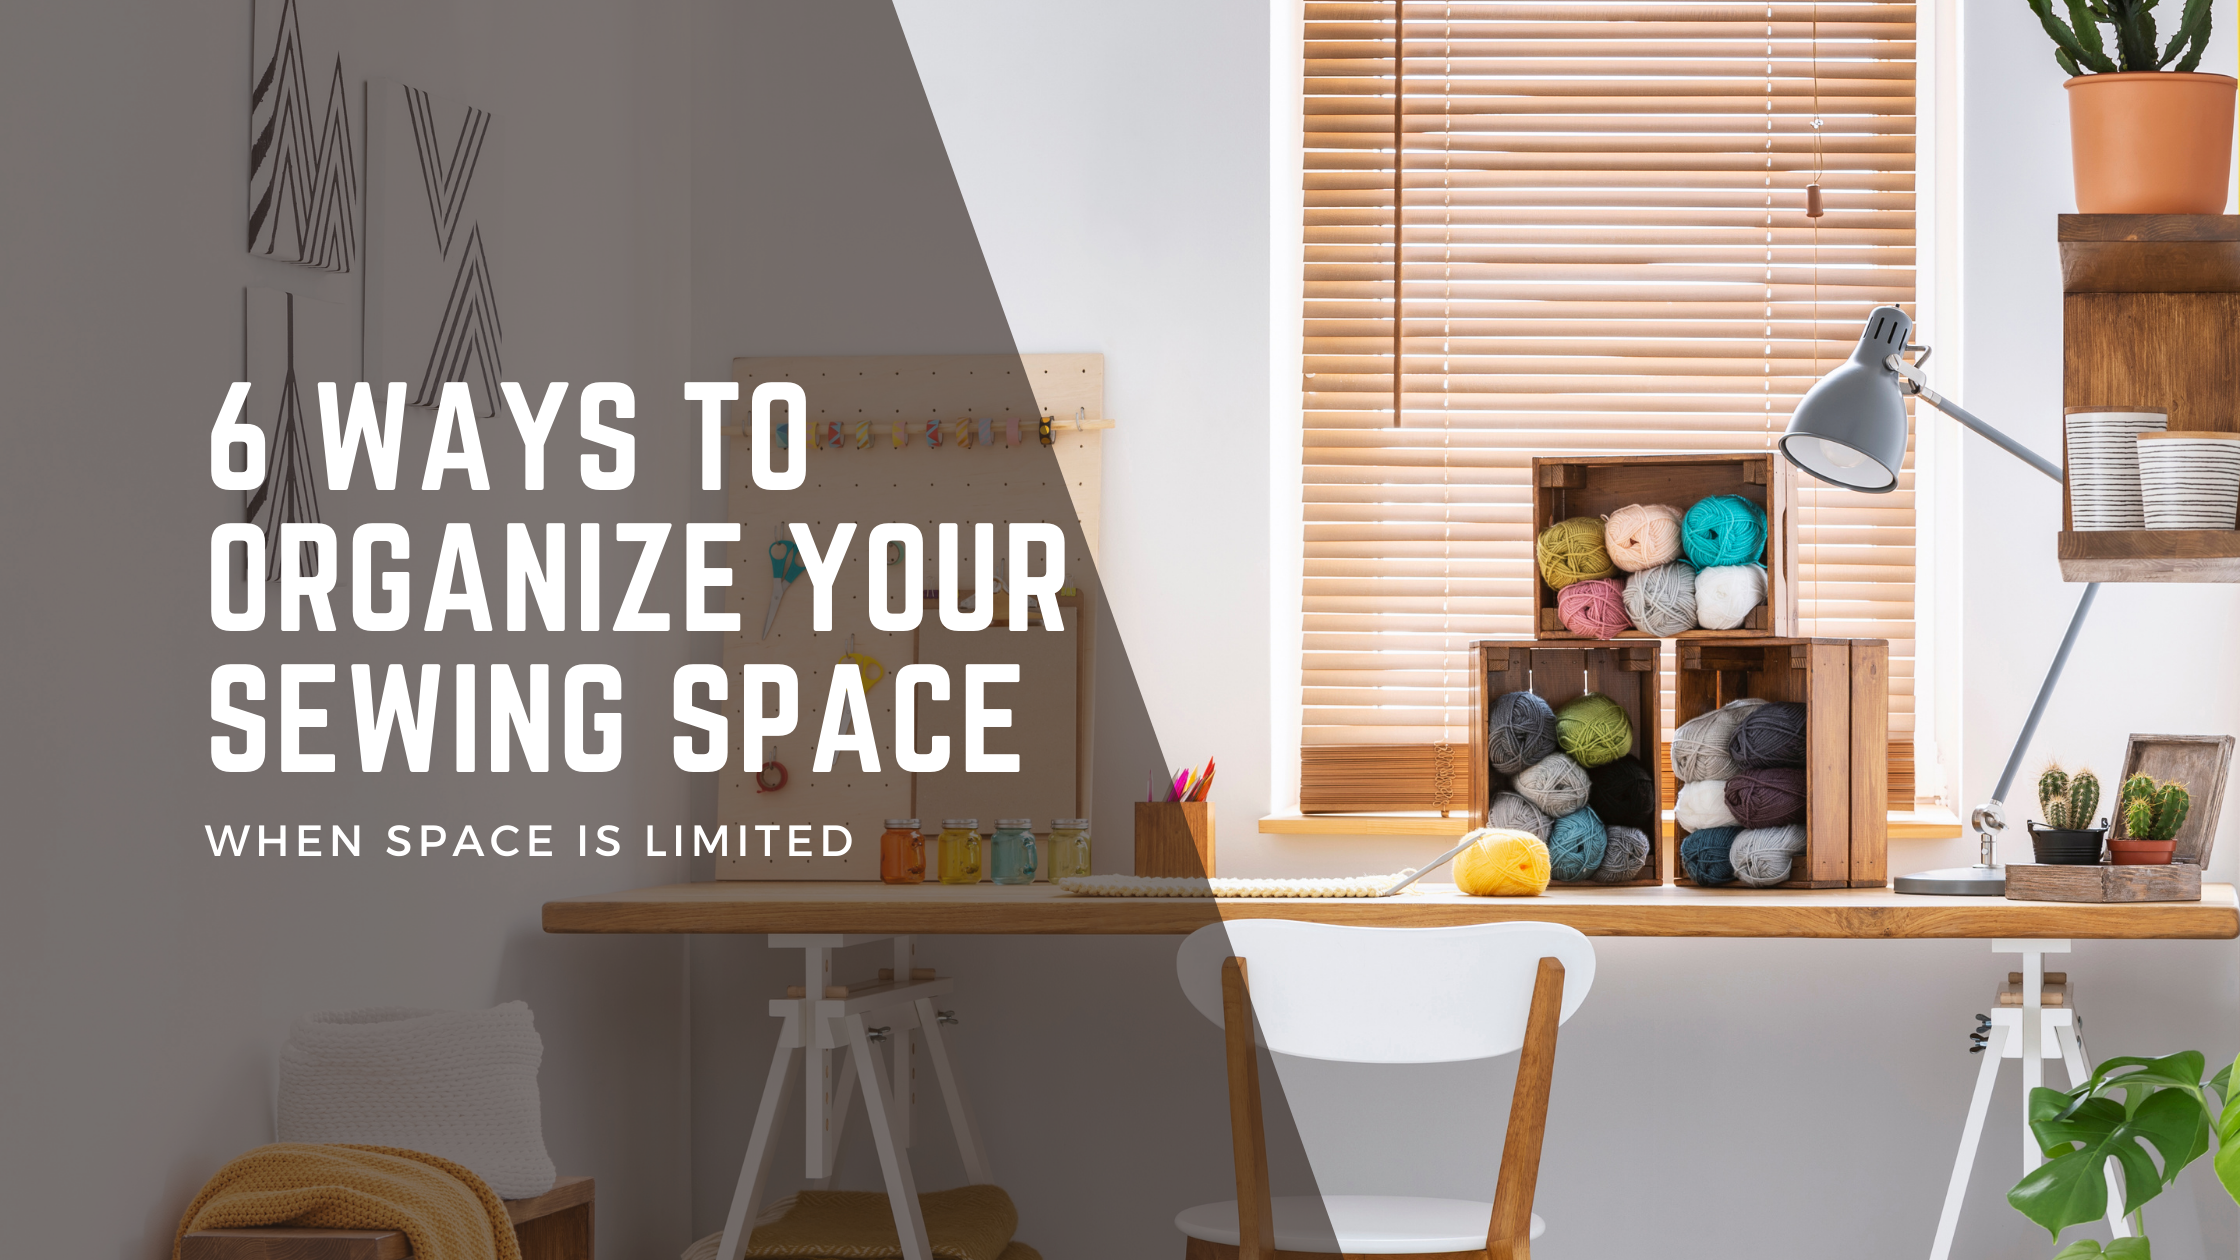
6 Ways to Organise Your Small Sewing Space

I have a confession to make. I’m a sew-a-holic. I can’t help myself. I buy fabric that’s cute and on sale even though I’m not sure what I’m going to do with it. And of course I have a tiny little sewing nook to create all of my marvelous creations. Over the years I have tried to organize my space in so many different ways. As my kids get older and our family needs change, so too does my space. I’ve just recently had to move my sewing nook to my living room and I’m in the planning stages to recreate my sewing paradise. So today I thought it would be the perfect time to share with you 6 tips to help you set up a functional and organized sewing nook in a small area. So grab a cup of tea (or your preferred beverage) and let’s get ready to sew!
Table of Contents
Toggle#1 Choose a Compact Workstation
The first thing you want to do is measure your space to see what size table you can fit. This could be a small sewing table, folding table, or wall-mounted desk that can fit your sewing machine and provide a flat workspace. My sewing nook is next to our dining table, so I’ve opted for a table that is big enough to fit both my sewing machine and serger. This means that I don’t have to pack up one machine when I’m using the other. I use the dining room table to cut out material and put pattern pieces together.
#2 Make a list of your tools, fabric, bits & bobs
Next you want to make a list of everything you have and how often you use each item. Now I know it sounds like a big job but it will help you to consider which items you use all the time and which items you only use occasionally. Once you know this you can prioritize the items you are most likely going to need easy access too. Then you want to consider whether some of these items could be stored in a different space if you don’t need them all the time. I have a shelf in the garage that I keep material and things that I don’t use regularly.
This list will also help you to see the items that you have which will be super helpful when looking at storage options.
#3 Compact Sewing Storage
Using the list you made above will help you to see the types of storage you will need. Use clear plastic bins, drawers, or stackable containers to keep sewing supplies organized and easily accessible.
#4 Use a Wall-Mounted Pegboard
If you have space above your sewing desk a wall-mounted pegboard can be a great space saver. You can hang and organize sewing tools, scissors, and spools of thread. I love wall-mounted pegboards. You will be surprised at how much you can fit onto one. You can also add your creativity to make it unique and show off your personality.
#5 Under-Table Storage
Use the space under your sewing table for storage by adding bins, baskets, or a rolling storage cart. I have a small locker under my table that fits my A4 printer on top and has two shelves inside.
#6 Compact Ironing Solution
A tabletop or mini ironing board can be stored under your sewing table or against a wall when not in use. You could also get a bit creative and cover the top of a kitchen trolley with an ironing board and then use the shelving to store your iron and other tools and equipment.
I would love to hear your tips for creating a functional and organized sewing nook in a small space. Leave your comments below.
